Advanced Artificial Intelligence Assistant

Artificial intelligence (AI) has become hugely popular in recent years, and most people associate it with ChatGPT-style apps. But AI has been around for a long time: it was established as a discipline in 1956, and its roots go back even further.
Even so, it was the widespread adoption of large language models (LLMs) that really brought AI into the public eye. For many people, ChatGPT became the ultimate example of what AI is.
Now, to no one's surprise, this AI boom is changing all sorts of fields, especially programming. Gone are the days when we posted coding questions on forums, hoping some kind soul would help us amid the mountain of insults.
I've used paid subscriptions for a few months, and honestly, they've given my productivity a huge boost. But it's not all rosy: AI is expensive to run and needs enormous infrastructure. Our data also travels to the servers of whichever providers we choose (Anthropic, OpenAI, etc.), so it's not exactly private. Subscriptions are also getting more and more expensive as large companies stop subsidizing the cost. One example is GitHub Copilot, which as of today (April 2026) has stopped supporting Opus models (the best for coding) and no longer allows new users to sign up for the paid plan. Other companies are doing similar things, raising prices and limiting usage for everyone. I get it, though: the previous approach wasn't sustainable in the long run. And let's be honest, they've already achieved their goal of showing us what these tools can do in a professional setting.
Let me take a quick detour here and invite you to think about the social divide this will create, as access to these tools gets more expensive. And don't confuse them with free chat plans: there's a world of difference between those and professional tools like Claude Code.
Anyway, back to the project. The goal is to build a local AI assistant hosted mostly, and eventually entirely, on our own infrastructure.
Here are a few use cases:
- Walk into your home office or studio and have the AI turn on your computer and open the curtains
- Leave the house and have the AI call to tell you that you left the stove on
- If you're a programmer, delegate tasks to the AI and review its pull requests when it's finished its work
- Get automated reports on your business
- Create and publish social media posts about trending topics
- Handle customer service for your business
- Hide your lack of interest in socializing by having it handle your messages, etc.
And, speaking of that last point, there is a point to it. What kind of person spends their precious time stressing over technology instead of doing normal-person things? Restless types, I guess.
Hardware
Back to the project: we need some hardware. I'll be using spare parts I had at home, giving me a machine with the following specs:
- Ryzen 7 5700g
- Motherboard A520m
- 16Gb RAM 3200 Mhz
- PSU 500 watts 80+ bronze
- Aero One Mini Eclipse case
- TPLink PCIE Network Card
- 500Gb SATA M.2 SSD
One detail: although I've included a network card here, I recommend a wired connection for this particular setup. I won't be using the card until the medium or long term.
I wouldn't skimp on hardware. If you need to invest a little to get better results, it's worth doing. That said, a machine like this already gives you enough power to run various microservices, and even local inference if you add a good graphics card.
Below is a photo of the disassembled PC and another showing it set up next to the modem.
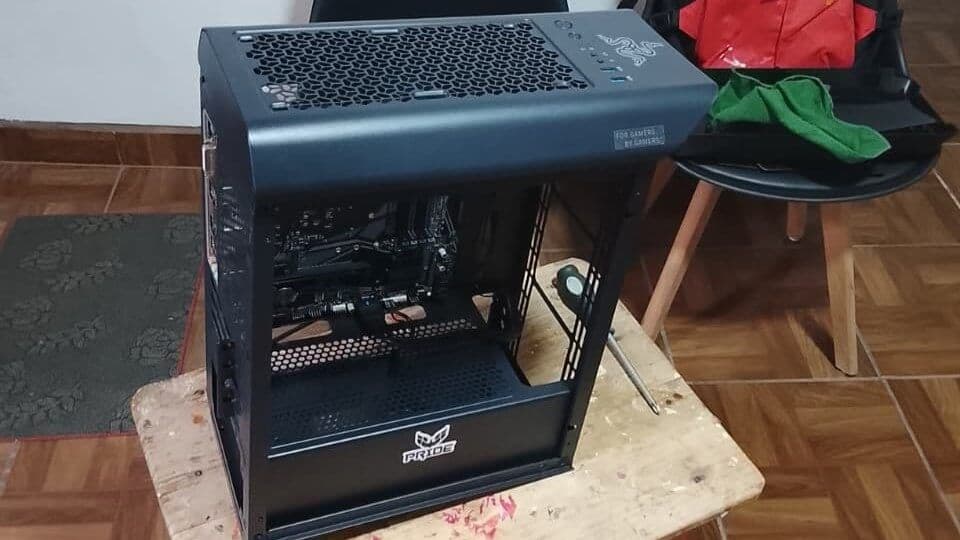
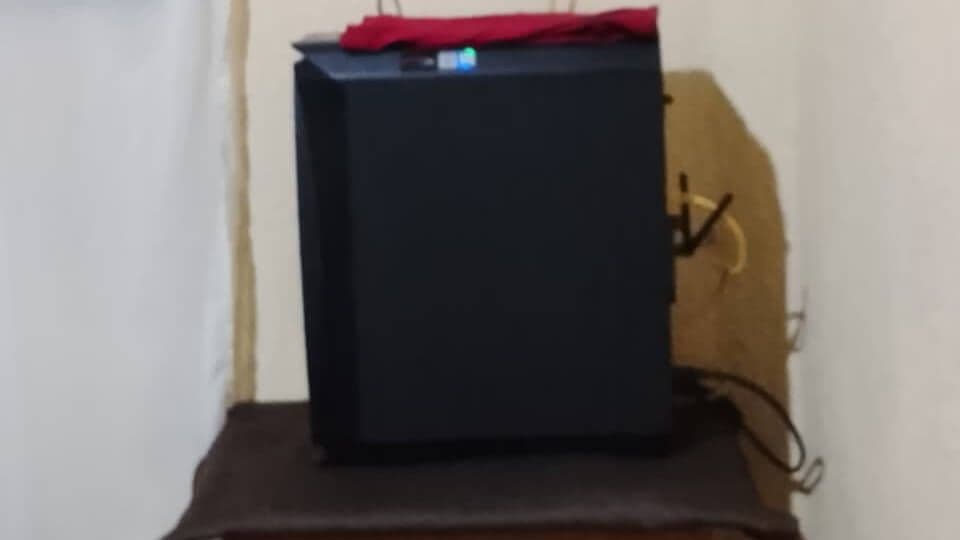
The assembled PC has a T-shirt on top. Not because it was cold (I think), but because I'm a bit fussy about noise and wanted to see if that made the fans quieter. They're barely audible anyway, but the less noise, the better for my peace of mind.
Finally, with the hardware ready, I entered the BIOS to adjust the fan curve, make sure it detected both RAM modules, and activate the XMP (Xtreme Memory Profile) profile.
Architecture
At this point, I had a capable machine for the project, but I paused to think. I knew what I wanted to achieve and where I was headed; now I needed to work out how to structure it. I researched different approaches, starting with YouTube guides and examples using tools like n8n and OpenClaw. Here are the videos:
- How to Start Your Smart Home in 2026
- OpenClaw workshop from scratch
- This is what you can do with OpenClaw
- Complete N8N course, learn N8N now!
- Introduction to N8N, automate your workflows
I liked the information and how simply they explained each concept, though if you're not familiar with coding, it might all sound like Greek to you. Still, it wasn't enough to keep my odyssey going. The information was very basic and left questions about security, connectivity, configuration, and cost unanswered. They didn't go very deep into advanced integrations either, which is fine: you don't want to scare off people who are just getting started.
Later, I descended into the depths of Reddit in search of more knowledge, where I found the following posts:
- Openclaw vs. Claude Cowork vs. n8n : r/AI_Agents
- Connecting Alexa to an OpenClaw LLM to control my PC
- Openclaw on Proxmox LXC : r/openclaw
- Best choice for local inference: r/LocalLLaMA
- HAOS vs Docker : r/homeassistant
- Solution idea: Control OpenClaw with Alexa : r/openclaw
Once I had enough information, I designed my architecture and named it ADA (Adaptive Digital Architect). It's currently laid out in a nine-page document and is based on one of the most incredible systems in the known universe: the human body.
It's still evolving and subject to change to ensure the system stays stable. Here are the components and the main structure:
- Proxmox
- HAOS
- Ubuntu Server
- Docker
- OpenClaw
- n8n
- Ollama
- Docker
This is a simplified view of the architecture, but I want to explain some of the reasoning behind these choices. Proxmox lets us virtualize different operating systems (OSes) and applications on the same machine, so we aren't tied to a single operating system. Put simply, with Proxmox you could run Windows and Ubuntu on the same computer.
HAOS will handle home automation: lights, sensors, and smart devices, broadly speaking. Ubuntu Server is a server operating system and will host Docker. Each Docker instance will run different microservices.
Interestingly, Ubuntu Server and Proxmox both use the Linux kernel, so we can run Ubuntu Server in an LXC container, which is more efficient than creating a virtual machine (VM). We'll use LXC to group microservices by type (AI, multimedia, entertainment, etc.). Within those Ubuntu Server instances, Docker containers will isolate services of the same type so they don't interfere with one another.
Install Proxmox
The first step, as the title of this section says, is to install Proxmox. Here's the download link:
Once you've downloaded it, you'll need to create a bootable drive. The easiest way is to use a USB drive and make it bootable with Rufus. There are plenty of tutorials online, so I won't go into detail. One thing to note: when you're done, your computer will detect the USB drive as two storage drives. Don't worry, that's normal. Eject it, and if everything went well, you'll be able to boot the Proxmox installer on your server.
Turning a 15-minute task into a two-hour one
Installation is quite simple. In my case, plugging in the USB drive and turning on the server let me start the installation process. One thing to keep in mind is that the machine needs a wired connection to your network to configure the IP address. My setup was entirely wireless, so I had to take the server to where the modem was. Unfortunately for me, I only keep clothes and a couple of books there, so I had to move several things from my office over to the modem. And just my luck, all my cables were tied together, so I had to turn my office upside down just to get the monitor out. Here's everything I needed:
- Server (obviously, but I wanted to emphasize it)
- Ethernet cable
- Wired mouse
- Wired keyboard
- Monitor
- Extension cord
- Bootable USB drive
Here's what my makeshift installation looked like:
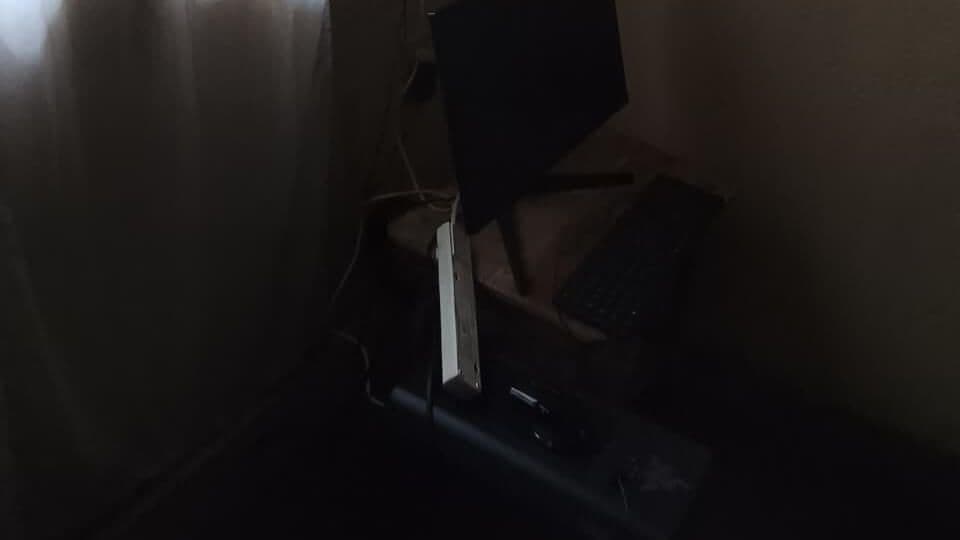
It was already late that day, and it started to drizzle while I was moving what I needed. Even so, I had no trouble setting up the hardware and software successfully.
Installation Process
This part is simpler than it seems. The installation is divided into the following steps:
1. Select an installation mode. All the options lead to the same result. I chose Install Proxmox VE (Graphical), so I could complete the rest of the process using a graphical interface.
2. Accept the license agreement. Just click I agree.
3. Select the storage drive where we'll install Proxmox. In my case, that was a 512Gb SATA SSD.
4. Set the country, time zone, and language. I tend to use everything in English (computer, phone, watch, etc.). But when I'm trying something new, as I was with Proxmox, I usually start in Spanish to get familiar with it faster, then switch to English.
5. Enter a password and email address. I paid special attention to the password, as you'll need it to log in, either locally or remotely. It's important not to forget it.
6. Configure the IP address. With a wired connection, Proxmox fills in the information for us. I checked that it had detected my network card, then changed the Hostname (FQDN) field to something like proyecto.local. I also changed the last value in the IP Address (CIDR) field to make it easier to remember.
7. Proxmox shows a summary of all the settings. Once I'd checked that everything was correct, I started the installation. It didn't take long, and the server restarted shortly afterward. I removed the USB drive at that point, and once the server booted up, Proxmox was ready to use.
Starting off on the wrong foot
To be honest, this is not something I'm proud of. The day after installing Proxmox, I broke it. I wanted to remove a UI warning, but the command I ran accidentally replaced several lines in proxmoxlib.js with the expression 'data.status !== Active'. I was in trouble because I had not backed up the file, and I could not update the system because I had not configured the package repository.
I'm not sharing the command, partly to avoid being judged and partly because someone is bound to copy and paste it without thinking. Just like back at school: when I shared my homework, people even copied my name.
So there I was with a broken UI. Most people would probably have reinstalled, but I wasn't about to turn my office upside down again. I dug through the Proxmox files and found the minified version of the file I'd broken. I used it to replace the broken file, and the UI came back to life. Then I removed the enterprise repositories that were blocking downloads, updated the system, and installed proxmox-widget-toolkit, restoring proxmoxlib.js to its original version.
This reminds me of my first PC: a Windows laptop my parents bought me 10 years ago, which I now use as an OctoPrint server running Ubuntu. A week after I first started using it, I had to take it to a technician because I'd broken the system. It's become a bit of a rite of passage for me.
I'll update this post as I make progress. For now, you're all caught up...