Blog and Portfolio: A Personal Website Built with Next.js
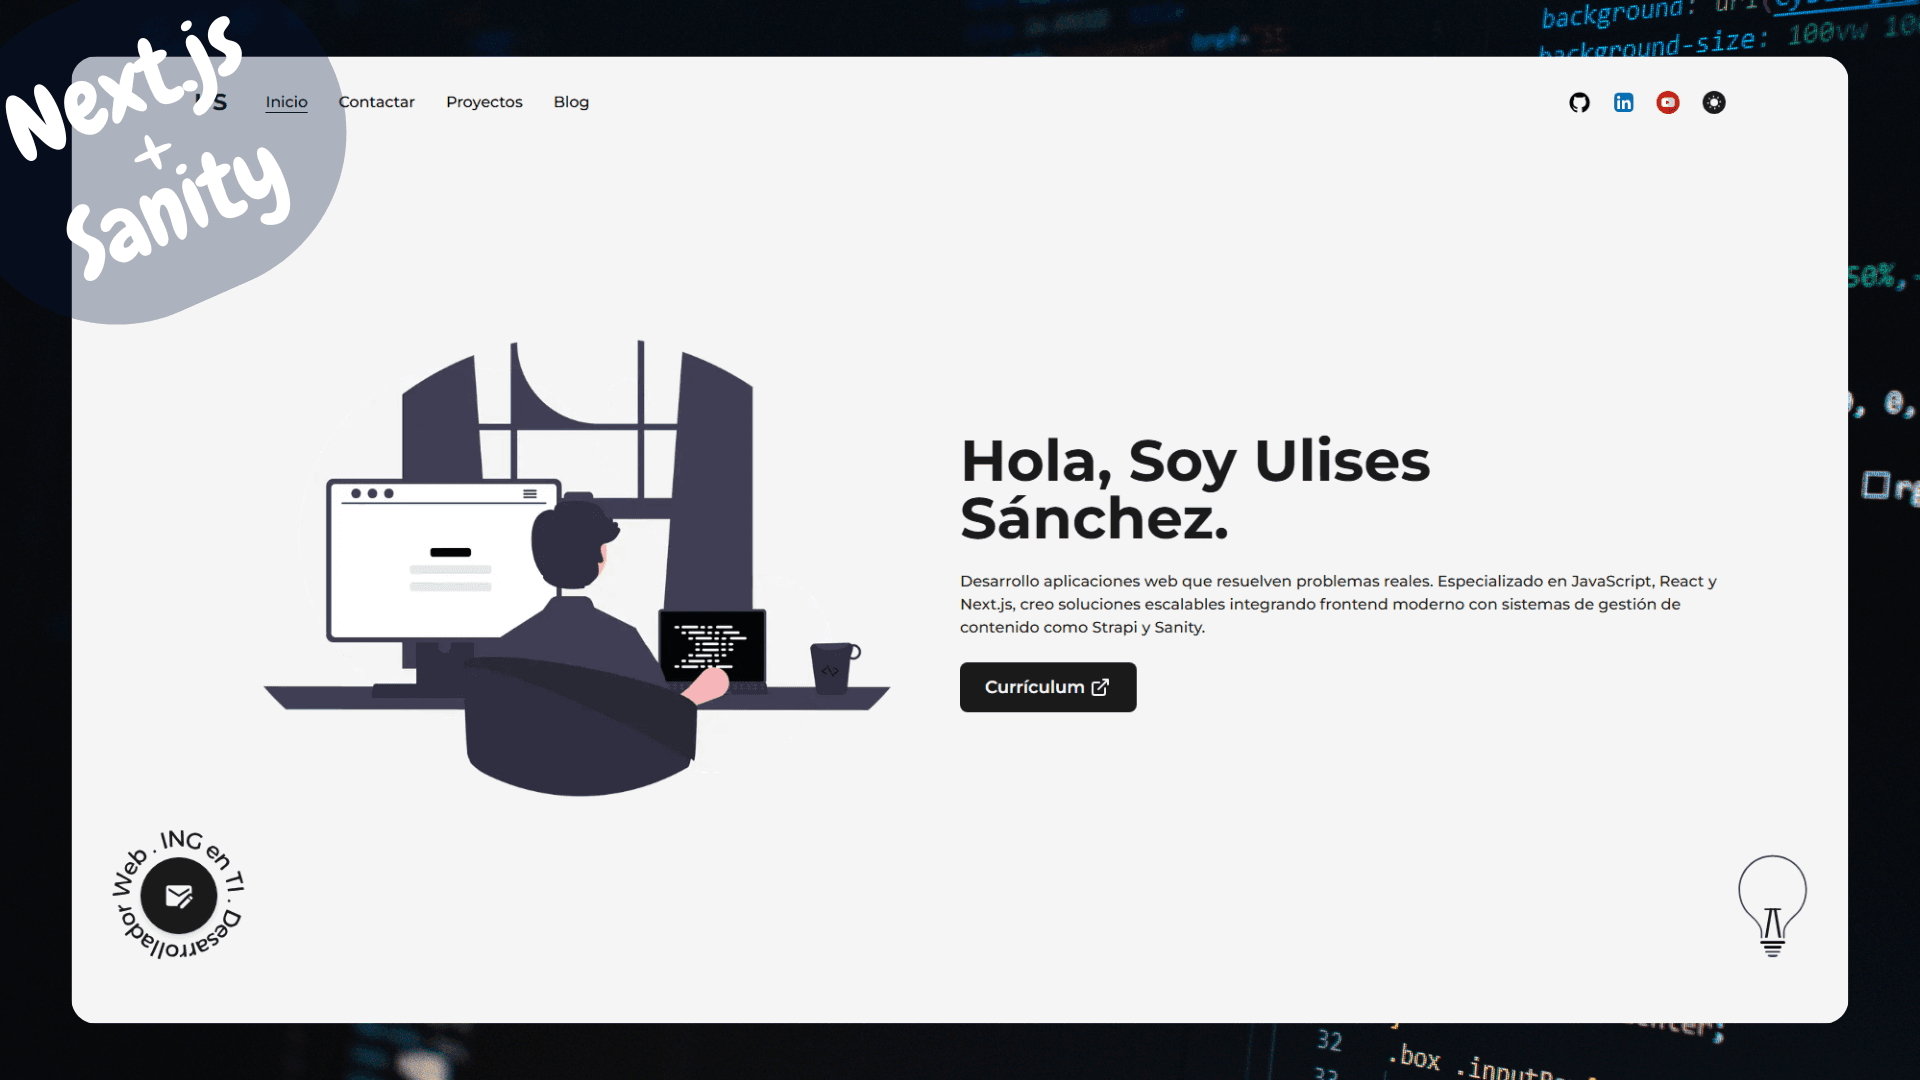
At the beginning of 2023 I learned React, a frontend development library created and maintained by Meta (or Facebook, as many of us still call it).
I found React easy to use, and the idea of separating the interface into components made maintenance and scalability much easier.
As an example, we can think of each part of the interface as a piece of Lego which we can use or replace at any time.
At that time I had two objectives in mind:
- Learn Next.js, a React framework.
- Create a portfolio to share my projects and ideas.
I like to use a comparison I read a while ago: let's imagine Iron Man. The person inside the suit is React; Next.js is the suit that gives him superpowers.
As an example, if we want to have routing in React we must install React Router DOM, while in Next.js it is enough to create folders.
Learning with a real project
One of my favorite ways to learn is by creating projects. In this case, I looked for a tutorial on building a portfolio website from scratch with Next.js and found one on an English-language YouTube channel.
I spent an hour on it every day: I watched a section of the video, tried to recreate it and, if I got stuck or forgot something, went through it again until I got it working.
The hardest part for me was styling, as I had no experience with Tailwind (the framework used in the video). However, as the days went by, it became easier. I liked that it gives me a lot of flexibility when styling, unlike other frameworks like Bootstrap that already have predefined components.
Initial technologies and tools
The process lasted about three months and I learned a lot:
- Turning SVG icons into React function components.
- Using the Pages Router.
- Components such as
LinkorImage, which make it easier to optimize images and navigation. - Using the Motion library for animations.
- Integration with Tailwind.
- Tools such as Canva to create assets.
In the end, I had a static portfolio, but I wasn't satisfied.
Beyond the Portfolio: The Blog
I wasn't entirely satisfied: I wanted something more personal that reflected part of me and allowed me to make room for another hobby of mine: writing.
I started by creating a contact page using:
- React Hook Form to validate data.
- EmailJS to manage the sending of emails.
- Sonner to show notifications.
- Toast for a light but eye-catching animation next to the form.
Integrating a CMS
It was clear to me that I needed a CMS (Content Management System) to manage content without touching code every time I wanted to update a project or an image.
In short, a CMS rests on three pillars:
- VPS or cloud service to host it.
- Database.
- Object storage (files, images, etc.).
My options were Outstatic, Tina, Payload, Strapi, and Sanity.
Migrating from Next 13 to 14
Most of these CMSs used the App Router, introduced in beta in Next.js 13 and made stable in 13.4. So, to keep my site up to date, I had to migrate from Next 13 to Next 14 and switch from the Pages Router to the App Router.
I read the documentation and it seemed as simple as executing a command... And so it was: in less than a minute everything was up to date.
The tricky part was changing the router:
- I created a new folder structure.
- I put the app folder inside src to keep things organized.
- I learned to work with Server Components, which involved segmenting some components that used animations or hooks such as
useState.
Fun fact: It was possible to use both routers at once, which made it easy to progressively migrate.
Implementing Sanity
I chose Sanity because of its free plan and because I wouldn't have to worry about maintaining databases or object containers.
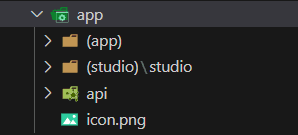
The implementation was quick, although I had a problem with the styles: the CMS panel’s styles conflicted with my website’s styles. I fixed this by placing the CMS and the app in separate folders.
Automatic Table of Contents
For navigation on the post and project pages, I wanted a table of contents to be automatically generated with the titles of each section.
I based it on the publication How to Make a Table of Contents from Sanity Block Content by Abdurezak Farah, which explains how to extract headings from Sanity and convert them into a hierarchical structure to render them as a listing with internal links.
Building on that idea, I adapted the code to my project. Now, whenever I create a post or project, the system detects the headings and automatically builds the table of contents.
Reading Time Calculation
To estimate the reading time of each post, I use a very simple formula in my Sanity query, for which I investigated the average number of words a person reads per minute and the average number of letters per word:
const wpm = 180; // Average words per minute
const meanWordCharacterCount = 5; // Average characters per word

"estimatedReadingTime": round(
  length(pt::text(description)) / meanWordCharacterCount / wpm
)
const wpm = 180; // Average words per minute
const meanWordCharacterCount = 5; // Average characters per word
"estimatedReadingTime": round(
length(pt::text(description)) / meanWordCharacterCount / wpm
)This line takes the total length of the text (length(pt::text(description))), divides it by the average number of characters per word and then by the words a person reads per minute, then rounds the value to show an integer number of minutes.
Graphic and text resources
For the images I used:
- Adobe Illustrator
- Canva
- LottieFiles
- unDraw
With the exception of Illustrator, all are free tools and highly recommended.
For texts:
- Microsoft Word for drafts.
- Sanity’s rich text editor for the final formatting.
Conclusion
This project not only allowed me to learn Next.js, Tailwind and the integration of a CMS, but also to solve real problems that do not appear in theory.
Today, this portfolio/blog is a window to show some of my projects and share ideas and thoughts, being proof that learning a technology from scratch is possible if it is combined with consistency and a little (actually, a lot of) patience.
Updates
I’ve been neglecting my site, so I’m going to make some changes. Instead of trying to maintain several projects, I’ll focus on a few and keep them in good shape, including this one. My first change will be to make it open source, and from then on I’ll release updates every quarter.
Q2 2026
| Description | Status |
|---|---|
| Upgrade to Next 16 | Implemented |
| Add transition animations for post and project pages | Dropped |
| Create a virtual pet | In progress |
| Improve Portable Text integration (tables, image captions, spacing, and code formatting) | Implemented |
| Add Open Graph metadata (description and image) to posts and projects. | Implemented |
| Add social sharing buttons to posts and projects | Implemented |
| Add a filter to sort projects and posts by date or name, in ascending or descending order. | Pending |
For more details, see the project’s CHANGELOG.